
Genie® II Video Manual
General Genie II Information
-
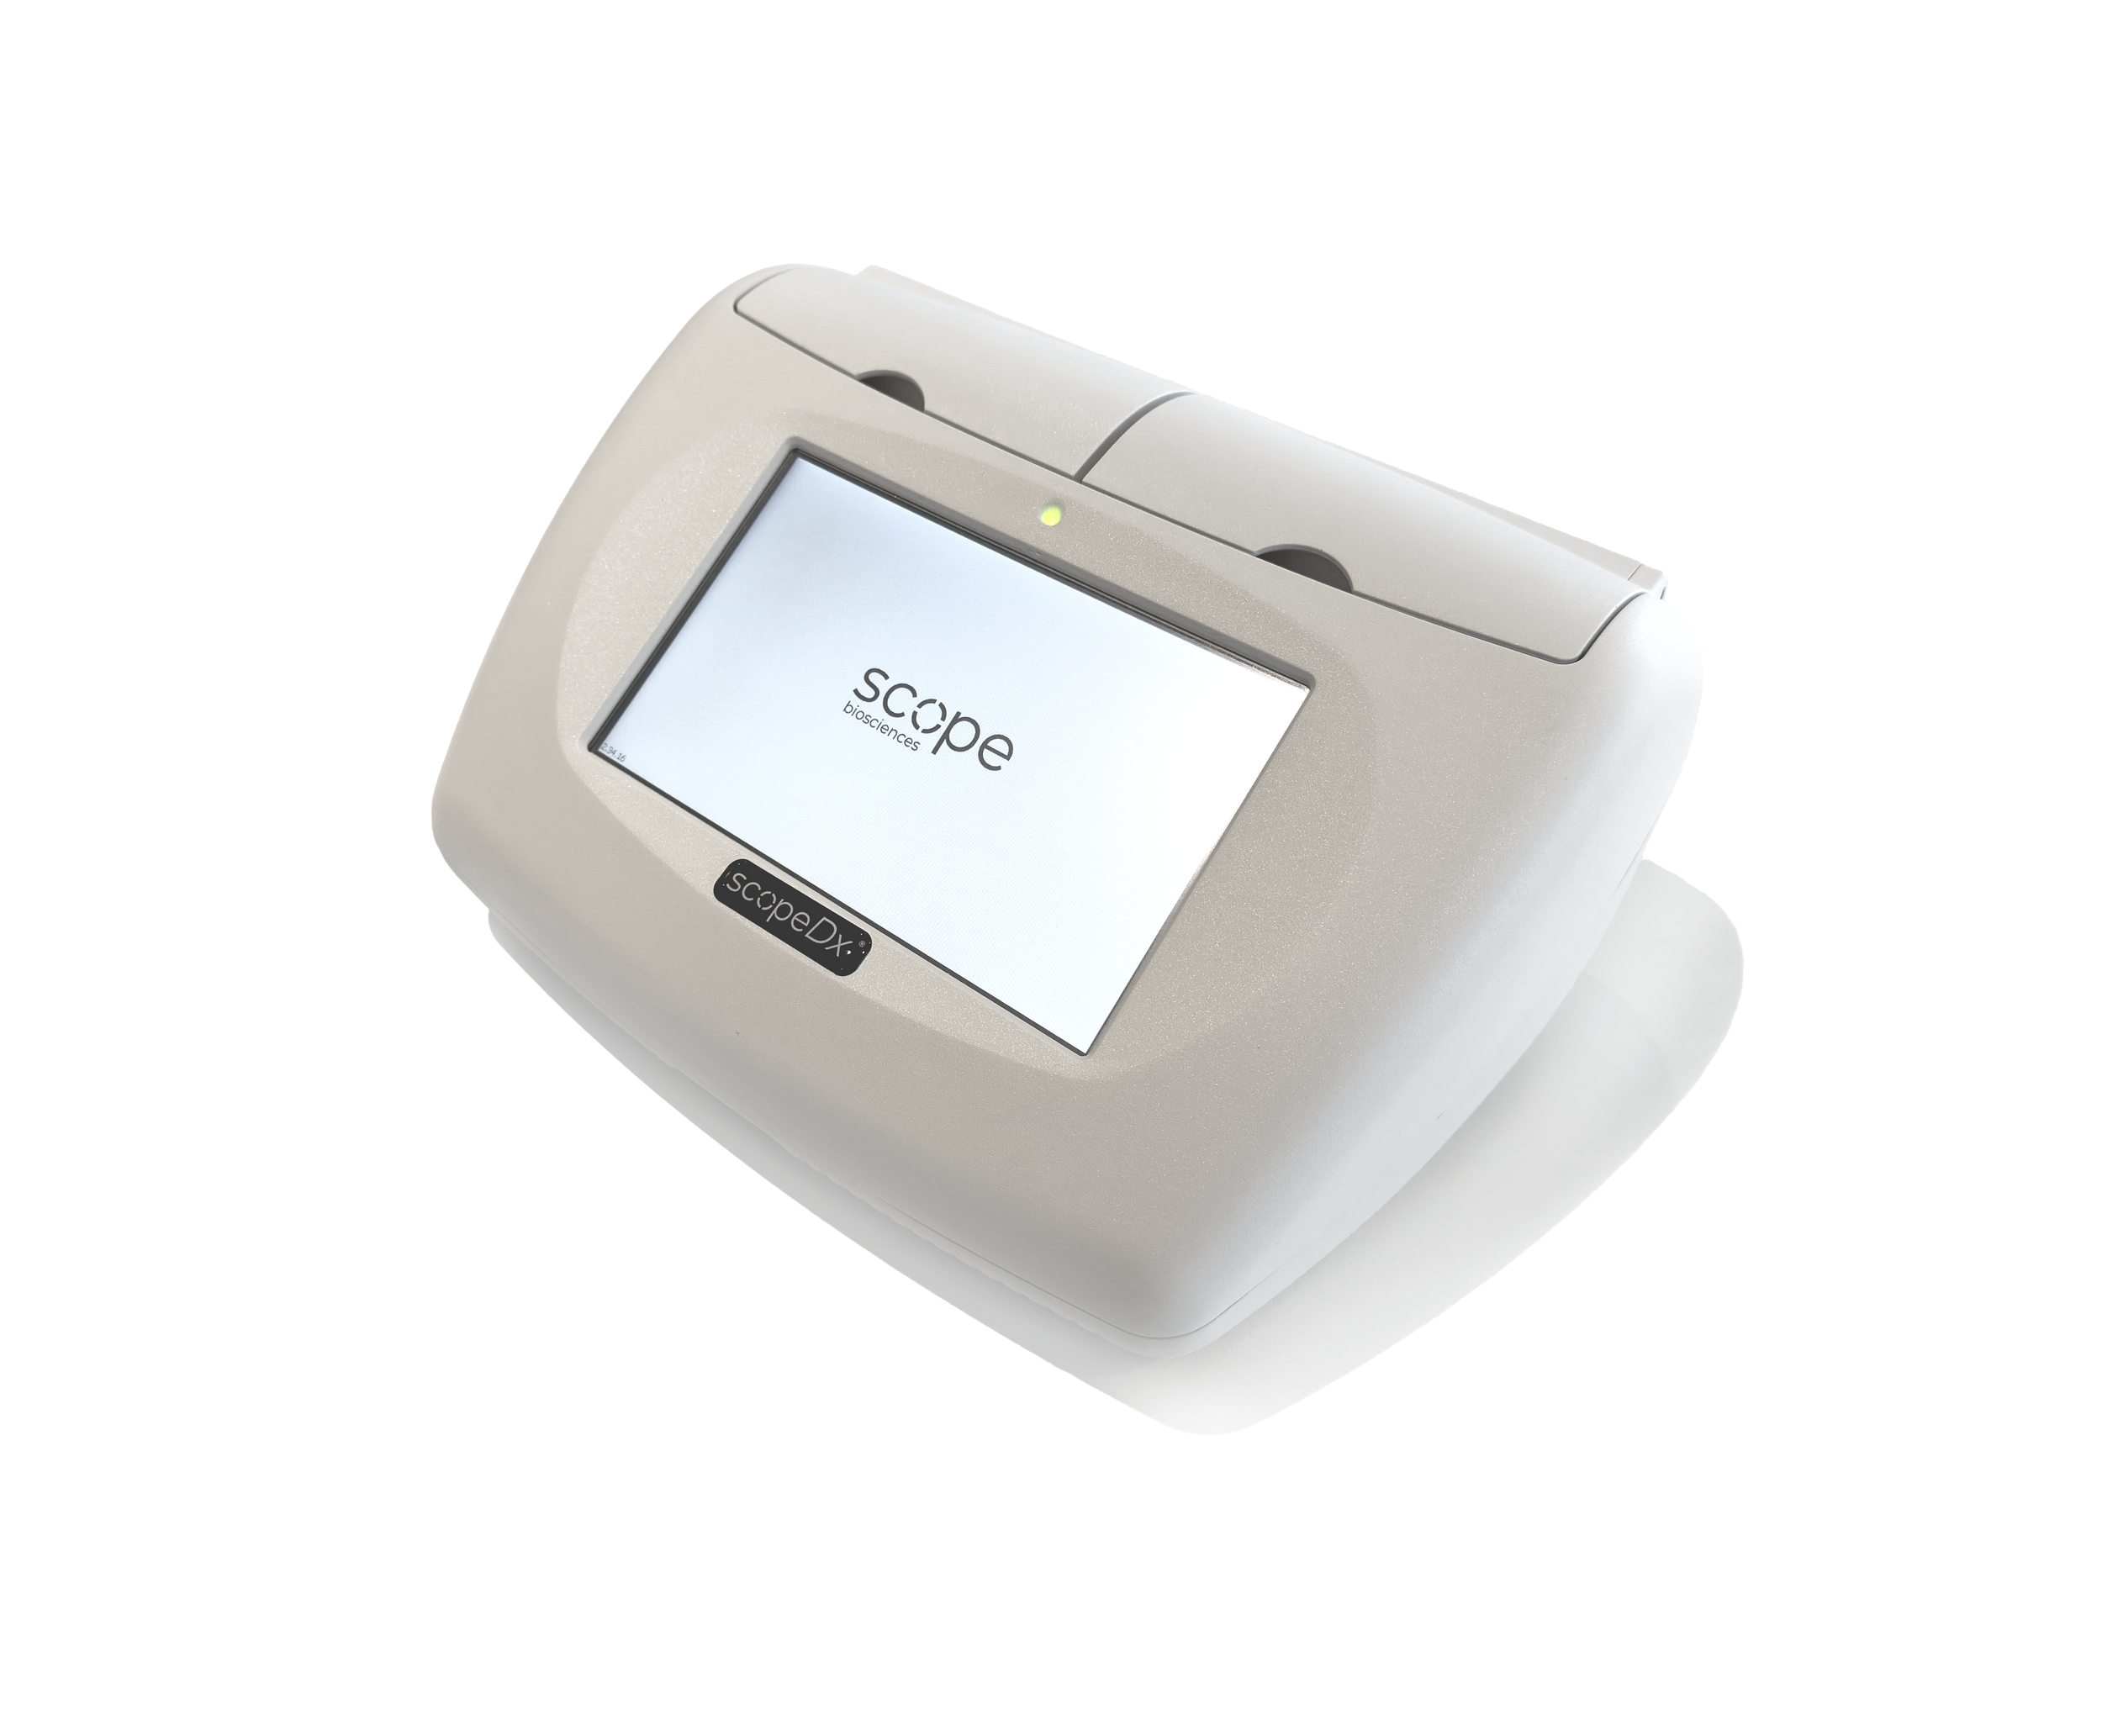
Overview of the items included in the case, such as the Genie® II instrument, power cable, power supply, provided USB drive, and stylus.
-
Explanation of how to power on the device using the power button located at the back of the Genie® II instrument.
-
Explanation of how to place the device in stand-by mode from the home screen. NOTE: the device will only charge when it is on or in stand-by mode, not when it is off.
-
Explanation of how to charge the Genie® II instrument using the provided power cable and power supply, with the recommendation to keep the battery as fully charged as possible.
NOTE: the device will only charge when it is on or in stand-by mode, not when it is off.
-
Explanation of all the icons on the home screen
-
The date can be changed from the date display icon at the home screen.
-
Explanation of how to add updated or new Genie profiles to the Genie® II instrument directory from the provided USB drive.
How to Start a Run
-
Explanation of how to place the strips in the Genie® II instrument and how to start the target profile from the home screen for easy access
-
Explanation of how to start the target profile from the directory when it is not available on the home screen.
-
Demonstration of the actions available during a run, including viewing run progress, stopping the run, returning to the home screen while the run continues, and reopening the active run.
-
Explanation of how to access results from previous runs during an active assay by navigating to the LOG folder in the directory and opening the desired .gen result file.
Finding and Extracting Results
-
Step-by-step overview of how to navigate to the results directory, locate previous run data in the LOG folder, and how to view the run results under the Results button.
-
Overview of how results are displayed per well and how to interpret control and target assay results.
-
Explanation of how to export a .gen result file to a USB drive by copying it from the LOG folder and pasting it into the USB directory.
-
step-by-step explanation of how to open results from the directory and how to export run results as a PDF or CSV on the reports folder on the Genie® II instrument.
-
Guide to generating a PDF or CSV report on the Genie® II instrument and transferring it to a computer using the USB cable. NOTE: the instrument must be on the start screen mode to export files to a computer.
Expert Functions
-
Overview of how to log in to expert mode through the Toolbox utilities to activate the expert access.
-
Guide to changing the expert ID password through the Toolbox and User settings. NOTE: it’s recommended to not change the password unless necessary.
-
Explanation of how to customise the home screen by adding or removing Genie profile buttons for quick access.
-
Instructions for deleting existing Genie profiles from the Profiles folder in the directory.
-
Overview of how to export graph data from the Amplification tab as a CSV report and transfer it either to a computer using a USB cable or to a USB drive.